Before Dark Effect


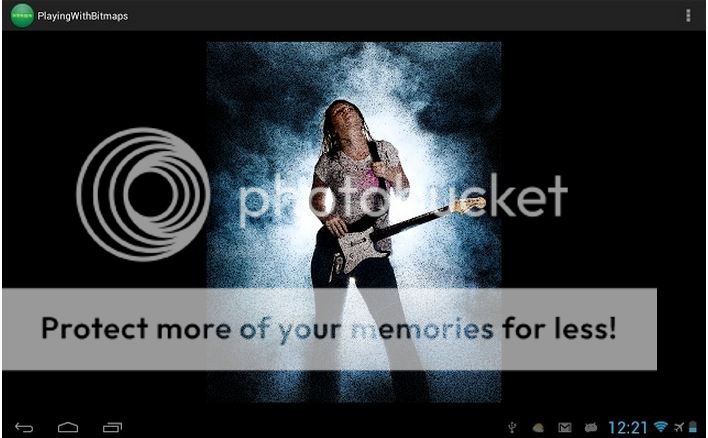
After Dark Effect

Create new Android Project
Project Name: PlayingwithBitmaps
Build Target: Android 2.3.3 //or greater than that
Application Name: PlayingwithBitmaps
Package Name: com.hamad.playingwithbitmaps
Create Activity: Main
Min SDK: 10 // or greater than that
- create main layout:
- One image view to display the image.
<?xml version="1.0" encoding="utf-8"?>
<RelativeLayout xmlns:android="http://schemas.android.com/apk/res/android"
    android:layout_width="match_parent"
    android:layout_height="match_parent"
    android:background="#000000"
    android:id="@+id/rlMain" >

    <ImageView
        android:id="@+id/imViewAndroid"
        android:layout_width="wrap_content"
        android:layout_height="wrap_content"
        android:layout_centerInParent="true"
        android:src="@drawable/car" />

</RelativeLayout>
2. code of main activity:package com.shaikhhamadali.blogspot.playingwithbitmaps;
import java.util.Random;
import android.os.Bundle;
import android.app.Activity;
import android.graphics.Bitmap;
import android.graphics.BitmapFactory;
import android.graphics.Color;
import android.widget.ImageView;
public class Main extends Activity {
ImageView imViewAndroid;
@Override
protected void onCreate(Bundle savedInstanceState) {
super.onCreate(savedInstanceState);
setContentView(R.layout.activity_main);
imViewAndroid = (ImageView) findViewById(R.id.imViewAndroid);
imViewAndroid.setImageBitmap(applyDarkFilter(BitmapFactory.decodeResource(getResources(), R.drawable.beautiful)));
}
public Bitmap applyDarkFilter(Bitmap source) {
// get image source size
int width = source.getWidth();
int height = source.getHeight();
int[] pixels = new int[width * height];
// get pixel array from source
source.getPixels(pixels, 0, width, 0, 0, width, height);
// create random object
Random random = new Random();
int R, G, B, index = 0, thresHold = 0;
// iteration through pixels
for(int y = 0; y < height; ++y) {
for(int x = 0; x < width; ++x) {
// get current index in 2D-matrix
index = y * width + x;
// get RGB colors
R = Color.red(pixels[index]);
G = Color.green(pixels[index]);
B = Color.blue(pixels[index]);
// generate threshold
thresHold = random.nextInt(255);
if(R < thresHold && G < thresHold && B < thresHold) {
pixels[index] = Color.rgb(0,0,0);
}
}
}
// create output bitmap
Bitmap bmOut = Bitmap.createBitmap(width, height, Bitmap.Config.ARGB_8888);
bmOut.setPixels(pixels, 0, width, 0, 0, width, height);
return bmOut;
}
}
3. note that:
- With the help of this,applyDarkFilter() method you can apply Dark Filter Effect on image on click,on action_down etc.
- Basically, the algorithm is to generate a threshold number (0-255), if all R,G,B values of a pixel are less than the threshold, then set the pixel to black.
4. conclusion:
- Some deep information about Dark Filter effect .
- Know how to apply Dark Filter Effect on image bitmap from drawables.
5. About the post:
- By Using the Approach of Randomizing Image pixel, another filter is created,named Dark/Black filter,or enhance the noise of darkness
- this could also used as ink dropping effect.
- The code seems to explain itself due to comments, and is very easy to understand.
- Don’t mind to write a comment whatever you like to ask, to know,to suggest or recommend.
- Hope you enjoy it!
6. Source Code:
you can download the source code here
Cheers,
you can download the source code here
Hamad Ali Shaikh


